
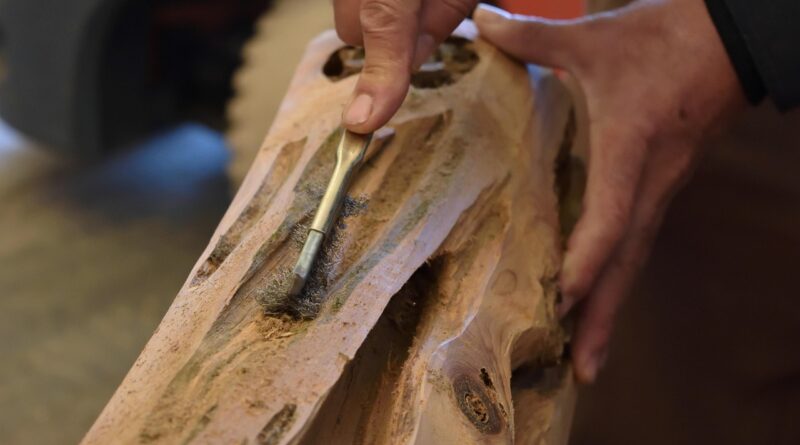
Wood carving tools explained for clean hand and power carving
Wood carving tools are easier to choose when the project comes first. A spoon, relief panel, small figure, bowl blank or decorative detail each calls for a different mix of control, edge shape and waste removal. For most beginners and workshop buyers, a useful kit is smaller than many catalog sets suggest: one dependable carving knife, a few well-chosen gouges or V-tools, secure workholding, sharpening supplies and appropriate eye and dust protection. Power carving tools can speed up waste removal and texture work, but they also introduce dust, noise and rotating-tool hazards. OSHA identifies lacerations, amputations, severed fingers and blindness among common woodworking injuries, while NIOSH and HSE both highlight wood dust as a respiratory and skin hazard. (osha.gov)
This guide focuses on practical selection rather than treating any one kit as universal. For related workshop buying guides, visit the Tools & Power section.
Start with the carving task, not the tool set
A common buying mistake is choosing a large set before knowing what kind of cuts the work requires. Wood carving can look like one category from a distance, but the tool geometry changes sharply between whittling a small figure, lowering a relief background, hollowing a spoon and shaping a turned bowl. The better question is not “How many tools do I need?” but “Which cuts must this project repeat?”
| Project type | Primary tools | Useful additions | Buying caution |
|---|---|---|---|
| Whittling and small figures | Sloyd or detail knife | Cut-resistant thumb guard, strop | Too many tiny knives can hide poor edge quality |
| Relief carving | Gouges, V-tool, bench knife | Mallet, background punch, clamps | Match sweeps and widths to the design scale |
| Spoon and bowl carving | Spoon knife, gouge, carving axe | Hook knife, shavehorse or secure clamp | Hollowing tools must feel controllable, not just aggressive |
| Chip carving | Chip carving knife | Layout tools, sharpening compound | Edge control matters more than tool count |
| Power detail and texture | Rotary tool or flexible-shaft carver | Burrs, abrasive sleeves, dust extraction | Dust and eye protection become central decisions |
The table also shows why bargain sets often disappoint. A 12-piece kit may look complete, but if the gouge sweeps are wrong for the pattern or the handles are uncomfortable, the extra pieces add storage rather than capability. A tighter selection with known sharpening angles and consistent steel quality is usually more useful.
Core wood carving tools and what each one does
Carving knives
A carving knife is the most direct wood carving tool because the hand controls both pressure and direction. A general carving or sloyd knife handles shaping, paring and controlled slicing. A detail knife usually has a shorter blade for tight curves, facial details, feathers, lettering and stop cuts. A chip carving knife is more specialized: it is made for crisp triangular cuts in geometric patterns, not for heavy shaping.
Look for a blade that can be sharpened easily, a handle that supports a relaxed grip and a shape that suits the cut. Beginners often assume a longer blade is more versatile, but shorter blades are usually easier to control in small work. The safest knife is not the dullest one; a sharp edge requires less force and is less likely to skid unpredictably.
Gouges, V-tools and veiners
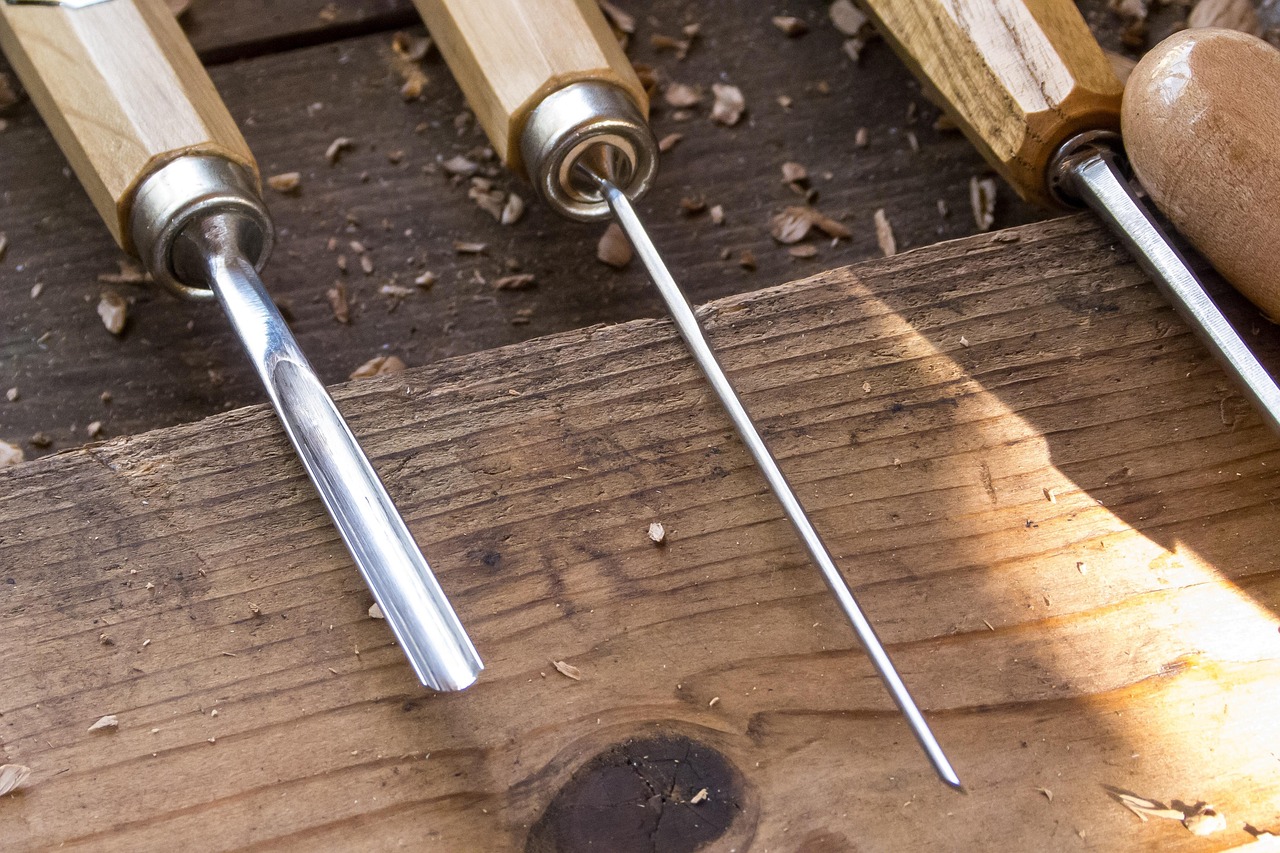
Gouges remove wood with a curved edge. Their “sweep” describes the curve: shallow sweeps level surfaces and create broad curves, while deeper sweeps scoop and shape hollows. V-tools create grooves, outlines, hair, feathers and separation lines. Veiners are narrow, deep gouges used for fine channels and decorative cuts.
For relief carving, the first useful gouges are often a shallow gouge, a medium gouge, a deeper gouge and a V-tool. For larger work, width becomes as important as sweep. A wide shallow gouge can flatten a background quickly, while a narrow deep gouge can reach areas the wide tool cannot.
Chisels, mallets and holding tools
Chisels and firmer tools sit between carving and general woodworking. They are useful for straight cuts, shoulders, lettering, background cleanup and controlled chopping. Mallets add force without making every cut a hand-pressure cut. Wood or urethane mallets are common because they transfer impact while reducing damage to tool handles.
Holding tools should be treated as part of the carving system. Bench dogs, clamps, carving screws, non-slip mats and vises reduce the temptation to hold a workpiece in the path of the edge. OSHA’s woodworking guidance warns that hands near the point of operation are a major source of injury risk, especially when stock moves unexpectedly or the operator’s hand slips. (osha.gov)
Power carving tools
Power carving usually means a rotary tool, die grinder, angle grinder with carving accessories, reciprocating carver or flexible-shaft machine. These tools remove material quickly and can create textures that are difficult to produce by hand. They are common in decoy carving, sculptural work, sign work and fast roughing.
The tradeoff is control. A burr spinning at high speed does not behave like a gouge. It can grab, burn wood, throw chips, create fine dust and damage details in seconds. Power carving is most useful when the operator already understands the form being made and has a plan for dust collection, eye protection and safe workholding.
Hand tools vs power carving tools
Hand tools and power tools are not rivals so much as different stages of control. Hand tools offer feedback through the edge: the carver feels grain direction, hardness changes and the start of tear-out. Power tools reduce physical effort and speed repetitive shaping, but they can also separate the user from that grain feedback.
| Factor | Hand carving tools | Power carving tools |
|---|---|---|
| Control | High tactile feedback and slower removal | Fast shaping but easier to overshoot |
| Learning curve | Requires sharpening and grain reading | Requires speed control, burr choice and restraint |
| Dust and chips | Mostly chips and shavings, except sanding | Fine dust is more likely, especially with abrasives |
| Noise | Usually low | Often requires hearing protection depending on tool and duration |
| Finish quality | Can leave a clean cut directly from the edge | Often needs sanding or hand-tool refinement |
A blended approach works well in many shops: use power carving for rough waste removal, then switch to knives and gouges for crisp edges, transitions and surfaces that should look cut rather than abraded. This can reduce fatigue on large projects while keeping the visible finish under hand control.
How to judge quality before buying
Quality in wood carving tools is not only about brand reputation. It is about whether the tool can take a keen edge, hold it long enough to work efficiently and return to sharpness without excessive grinding. Poor tools often reveal themselves during sharpening: the bevels are uneven, the steel feels inconsistent or the edge rolls after light use.
- Steel and heat treatment: The exact alloy matters less than dependable heat treatment and edge behavior. The tool should sharpen predictably and resist chipping in normal use.
- Bevel geometry: A thick bevel may feel strong but can wedge in the cut. A very thin edge can be fragile. Carving tools need geometry matched to the work and wood species.
- Handle shape: A handle should support repeated cuts without forcing the wrist into an awkward angle. Avoid shapes that look decorative but create pressure points.
- Sweep and width markings: Clear markings make replacement and expansion easier, especially for relief carving where matching profiles matters.
- Sharpening access: Inside curves, V-tools and hook knives require slips, strops or shaped abrasives. A tool that cannot be maintained will not stay useful.
Buyers should also be careful with “complete” beginner sets. A smaller kit built around one or two real projects is easier to learn, easier to sharpen and easier to evaluate. Once the carver knows whether they need deeper hollows, flatter backgrounds or finer detail, additions become more accurate. See also: Bolts & Fasteners.
Safety and dust control belong in the tool decision
Safety should not be treated as a separate purchase after the tools arrive. It affects which tools make sense, how the bench is arranged and whether a project is comfortable enough to finish. For edged hand tools, the basics are secure workholding, cutting away from the body where practical, keeping both hands out of the tool path and maintaining sharp edges to reduce forcing cuts.
For power carving, eye and face protection become more important because burrs and abrasives can throw chips and dust. OSHA notes that woodworking health hazards include wood dust and finishing chemicals that may cause skin and respiratory diseases. NIOSH states that wood dust exposure has been associated with eye and skin irritation, allergy, reduced lung function, asthma and nasal cancer. HSE similarly warns that wood dust can affect the skin, respiratory tract and eyes, and that hardwood dust can cause a rare form of nasal cancer. (osha.gov)
Dust control is especially relevant when carving moves into sanding, rotary burrs or dry hardwoods. Good practice may include local extraction, a suitable respirator, cleanup methods that do not simply blow dust around the shop and awareness of wood species that trigger sensitivity. These controls are not only for industrial shops; small workshops and hobby benches can create concentrated exposure because the user works close to the source.
Lathe-related carving and turning add another layer. The American Association of Woodturners strongly recommends a full face shield whenever the lathe is running and advises users to avoid gloves, loose clothing and jewelry around rotating equipment. That guidance is aimed at turning, but the broader lesson applies to many rotating tools: entanglement hazards must be considered before choosing gloves, sleeves or accessories. (woodturner.org)
Maintenance that keeps carving tools useful
Sharpening is not a repair task saved for damaged edges; it is routine maintenance. A cleanly sharpened knife or gouge cuts with less force, follows grain more predictably and leaves a surface that may need little sanding. Waiting until a tool is visibly dull usually means more grinding, more heat risk and more time away from the work.
A practical maintenance setup can be simple: a stone or abrasive system for establishing bevels, slips for inside curves, a leather strop and compound for regular honing, and a way to protect edges in storage. Gouges should be stored so edges do not strike each other. Power carving burrs should be cleaned, inspected and matched to speed recommendations from the tool and accessory maker.
The key is consistency. A carver who can restore an edge in two minutes will keep cutting cleanly. A carver who dreads sharpening may push harder, accept tear-out or reach for a powered abrasive too early. In that sense, sharpening supplies are not accessories; they are part of the wood carving tools budget.
Frequently asked questions
What wood carving tools should a beginner buy first?
A sensible first kit is a carving knife, a strop with compound, a safe workholding method and protective items such as eye protection and a thumb guard. If the first project is relief carving, add a small group of gouges and a V-tool. If it is spoon carving, consider a spoon knife or gouge instead of relief tools.
Are power carving tools better than hand tools?
They are better for some tasks, not all tasks. Power tools remove material quickly and are useful for roughing, texture and hard-to-reach shapes. Hand tools offer more feedback, cleaner cut surfaces and better control for crisp details. Many carvers use both.
How many gouges do I need for relief carving?
Most beginners can start with a shallow gouge, a medium gouge, a deeper gouge and a V-tool, then add sizes based on actual patterns. Buying by sweep and width is more useful than buying by total piece count.
Do wood carving tools need special sharpening equipment?
They need sharpening equipment that matches their shapes. Flat knives and chisels can use stones or guided abrasives, while gouges and V-tools need slips, shaped strops or other methods that reach inside curves without rounding the cutting profile.
Is wood dust a concern when carving by hand?
Hand carving mostly creates chips and shavings, but dust becomes a concern during sanding, rotary carving, sawing, grinding and cleanup. Dust control should increase as the work shifts from clean edge cuts to abrasive or powered material removal.


