
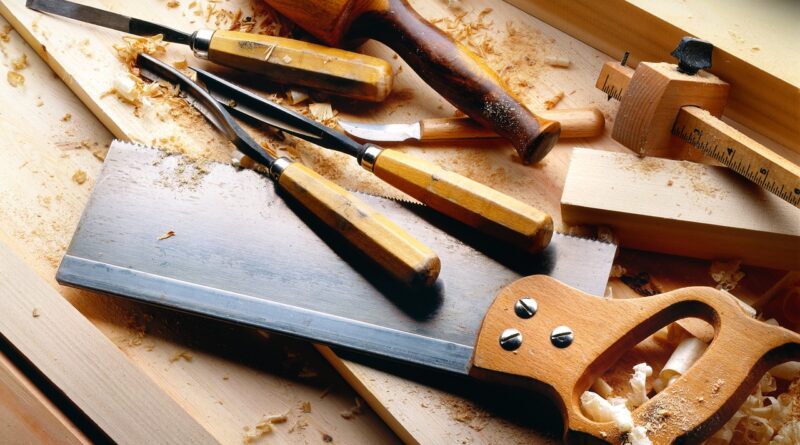
Carpenters tools explained for layout, cutting, fastening, and jobsite safety
Start with the work, not the tool count
A practical carpenters tools list starts with the work a carpenter actually performs: measuring and marking, cutting, fastening, shaping, holding material, checking accuracy, and working safely. A framing crew, trim installer, cabinetmaker, remodeler, and apprentice will not carry the same kit, but the selection logic is similar. Each tool should improve accuracy, repeatability, speed, or control without adding unnecessary weight, cost, or risk. In the United States, the Bureau of Labor Statistics notes that many employers require carpenters to supply their own tools, so a useful kit also has to reflect budget, durability, and replacement costs. Readers comparing saws, drills, and fastening equipment can browse Tools & Power for related coverage.
The core categories of carpenter’s tools
Carpentry tools are easier to choose when they are grouped by task rather than by brand or price. The categories below apply to most site carpentry and woodworking, although the exact mix changes with the type of work, the material, and the level of finish required.
Layout and measuring tools
Accuracy starts before the first cut. A tape measure, framing square, speed square, combination square, chalk line, pencils, marking knife, level, and laser level or line laser are common layout tools. For rough framing, speed and visibility matter: a durable tape, bold pencil marks, and a clear chalk line may be more valuable than fine woodworking precision. For trim, cabinetry, stair work, and built-ins, small layout errors are much more visible, so a sharp marking knife, reliable combination square, and carefully made story stick can prevent rework.
Cutting tools
Handsaws, circular saws, jigsaws, reciprocating saws, miter saws, table saws, and oscillating multi-tools all cut material, but they are not interchangeable. A circular saw is a general jobsite tool for sheet goods and framing lumber. A miter saw improves repeatable crosscuts and angled trim cuts. A jigsaw handles curves and interior cutouts. A reciprocating saw is usually more useful for demolition than finish work. A table saw can be valuable for ripping stock, but it requires space, setup discipline, and attention to guarding.
Fastening and assembly tools
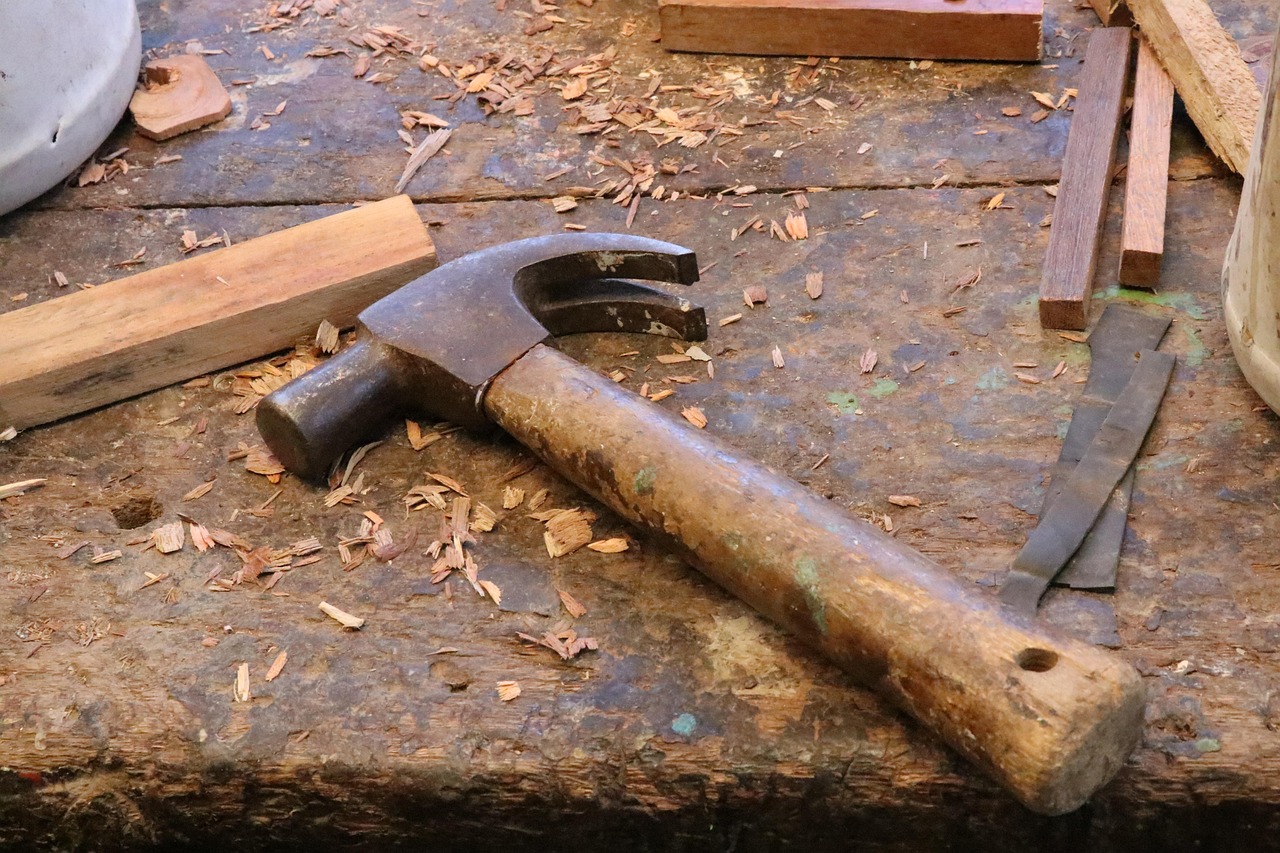
Carpenters commonly use hammers, nail sets, pry bars, screwdrivers, drills, impact drivers, clamps, nailers, staplers, and adhesive applicators. A smooth-face hammer suits finish work; a milled-face framing hammer grips nail heads better but can mar visible surfaces. Impact drivers are efficient for structural screws and repetitive fastening, while drill drivers are better for boring holes and controlled driving. Pneumatic or cordless nailers can speed framing, trim, sheathing, and fencing, but they also introduce trigger, air pressure, battery, and maintenance issues.
Shaping, fitting, and finishing tools
Planes, chisels, rasps, files, routers, sanders, block planes, utility knives, scrapers, and coping saws help pieces fit after the main cut. These tools matter most where joints are visible or tolerances are tight. A sharp chisel and block plane often fix small fit problems faster than a power tool. For trim and finish carpentry, sharpening, grain direction, and test cuts are as important as tool ownership.
A practical checklist by carpentry task
The table below offers a task-based way to build or review a kit. It is not a universal shopping list. Use it as a filter for deciding what belongs in a tool pouch, job box, van, or shop.
| Task | Common tools | What to check before buying |
|---|---|---|
| Layout and marking | Tape measure, square, chalk line, pencil, level, laser | Readable markings, drop resistance, calibration, visibility in jobsite light |
| Framing | Circular saw, framing hammer, nailer, speed square, pry bar | Power source, blade depth, balance, guard movement, fastener compatibility |
| Trim and finish work | Miter saw, coping saw, nail set, finish nailer, block plane, chisels | Cut accuracy, clean edges, dust collection options, nose size on nailers |
| Cabinet and built-in work | Clamps, router, drill driver, countersink bits, table saw or track saw | Repeatability, fence accuracy, bit quality, clamp reach, surface protection |
| Demolition and repair | Reciprocating saw, pry bar, utility knife, oscillating tool | Blade access, vibration, hidden fastener control, dust and debris management |
| Jobsite safety | Eye protection, hearing protection, respirator where needed, gloves, dust extraction | Fit, task suitability, compatibility with other PPE, replacement parts |
Hand tools, corded tools, cordless tools, and pneumatic tools
The right power source depends on the work environment. Hand tools offer control, quiet operation, and low setup time. They are often the most reliable option for fitting, scribing, and small adjustments. Corded tools provide steady power for long cutting sessions and shop work, but cords can be inconvenient on active jobsites. Cordless tools improve mobility and are now common for drills, drivers, saws, nailers, lights, and multi-tools. Their real cost includes batteries, chargers, and commitment to a battery platform. Pneumatic tools remain important where crews need light tool bodies and high fastening speed, but compressors, hoses, fittings, and pressure settings add setup and maintenance.
A carpenter building a first kit should usually avoid buying every tool at once. Start with durable layout tools, a reliable drill or driver setup, a circular saw or access to one, basic hand tools, clamps, and appropriate personal protective equipment. Add nailers, specialty saws, routers, and precision tools when the work justifies them. This helps avoid a common problem: spending heavily on tools that look impressive in storage but rarely solve real jobsite problems.
Safety requirements that should influence tool selection
Tool choice is not only about speed or cut quality. OSHA’s construction rules require hand and power tools to be maintained in safe condition, whether the tools are supplied by the employer or by the worker. In practical terms, a cracked handle, missing guard, damaged cord, loose blade, failing trigger, or improvised accessory should remove the tool from service until it is repaired or replaced.
Nailers deserve special attention because they are common carpenter’s tools and can cause puncture injuries. OSHA’s construction rule for power-operated hand tools addresses pneumatically driven nailers, staplers, and similar tools that operate above 100 psi and have automatic fastener feed, requiring a muzzle safety device to help prevent fasteners from ejecting unless the muzzle contacts the work surface. NIOSH and OSHA nail gun guidance also emphasizes training, personal protective equipment, and sequential triggers as risk-reduction measures. For contractors and crews, trigger type and user training should be part of the buying decision, not an afterthought.
Dust control is another buying factor. OSHA’s respirable crystalline silica construction standard, published in 2016, includes specified control methods for tasks such as using handheld power saws on silica-containing materials. For carpenters who occasionally cut masonry, concrete, stone, or other silica-containing materials, the issue is not simply which saw to choose. The method may need to include water delivery, dust extraction, respiratory protection, or a different cutting approach. Wood dust is a separate concern, but the same principle applies: cutting tools should be evaluated with dust management in mind.
Eye and face protection should match the task. Cutting, chiseling, grinding, drilling overhead, and using nailers can all create flying particles. OSHA construction requirements address eye and face protection, and jobsite practice should account for fit, side protection, fogging, and compatibility with hearing protection or respirators.
Maintenance and storage make tools more accurate
Many carpenter’s tools lose value gradually before they fail completely. A tape measure with a loose hook can create small layout errors. A square that has been dropped may no longer be square. A dull blade forces the motor, burns material, and increases the chance of pushing too hard. A nailer with worn seals may misfire. A chisel with a rounded edge turns a clean fitting task into rough scraping.
A simple maintenance rhythm helps protect both accuracy and safety. Check cutting edges before important work. Replace blades before they burn, wander, or tear out material. Keep battery contacts clean and store batteries according to the manufacturer’s instructions. Drain compressor tanks when required. Inspect cords, plugs, hoses, guards, and triggers. Keep layout tools separate from demolition tools so measuring edges and levels are not damaged in the same box as pry bars and fasteners.
Storage also affects speed. A carpenter who can immediately find a sharp pencil, the correct bit, a square, and a working tape measure wastes less time than one with a larger but disorganized kit. Tool belts, stackable boxes, job boxes, wall racks, and labeled bit cases all serve the same purpose: reducing friction between layout, cut, fit, and fasten. See also: Bolts & Fasteners.
Common buying mistakes to avoid
The first mistake is choosing tool quantity over task coverage. Ten saws do not help if the work mainly fails at layout. A more balanced kit covers measurement, cutting, fastening, adjustment, clamping, and cleanup.
The second mistake is ignoring ergonomics. CPWR construction ergonomics resources note that ergonomic hand tools can reduce exposure to risk factors such as forceful exertion, awkward posture, and contact stress compared with some standard versions. For a carpenter using hand tools all day, handle shape, grip size, vibration, trigger force, and tool weight can matter as much as power.
The third mistake is buying tools that do not match the material. Framing lumber, hardwood trim, plywood, composite decking, engineered lumber, metal connectors, concrete, and fiber-cement products can require different blades, bits, fasteners, and dust controls. A powerful tool with the wrong blade or bit can produce poor cuts and unnecessary hazards.
The fourth mistake is treating accessories as secondary. Blades, bits, abrasives, batteries, clamps, fasteners, dust bags, extraction adapters, and spare parts determine how well the main tool performs. A modest saw with the correct sharp blade may outperform a premium saw with a dull or unsuitable blade.
How to build a carpenter’s tool kit in stages
For an apprentice or occasional carpenter, stage one should cover layout, basic cutting, fastening, and protection: tape measure, square, pencil, chalk line, hammer, utility knife, drill driver or impact driver, basic bits, circular saw access, clamps, eye protection, hearing protection, and a suitable storage system.
Stage two adds productivity tools based on repeated tasks. A trim-focused carpenter may add a miter saw, finish nailer, coping saw, block plane, and better dust collection. A framer may prioritize a framing nailer, additional batteries, sawhorses, larger levels, and demolition tools. A cabinet or built-in installer may add precision clamps, countersink systems, router accessories, track saw capability, and finer measuring tools.
Stage three is specialization. This includes tools that are valuable only when the work is frequent enough: table saws, planers, specialty nailers, stair gauges, laser layout systems, routers with dedicated jigs, or high-capacity dust extraction. The key question is not whether the tool is useful. The question is whether it improves enough jobs to justify its cost, storage, training, and maintenance.
Frequently asked questions
What are the first carpenters tools a beginner should buy?
Start with layout and control: a quality tape measure, speed square, pencil or marking knife, utility knife, hammer, drill or impact driver, bits, clamps, circular saw access, and eye and hearing protection. Add specialty tools after the work pattern is clear.
Do carpenters need both hand tools and power tools?
Yes, in most real work. Power tools speed cutting and fastening, while hand tools improve fitting, marking, adjustment, and control. A balanced kit usually performs better than one that relies only on power.
Are cordless tools better than corded tools for carpentry?
Cordless tools are often more convenient on jobsites, especially for drilling, driving, cutting, and punch-list work. Corded tools can still make sense for long, stationary, high-demand tasks where continuous power and lower battery dependence matter.
Which carpenter’s tools affect accuracy the most?
Measuring and layout tools have the biggest effect before cutting begins. Tape measures, squares, levels, chalk lines, story sticks, and marking tools should be checked regularly because small layout errors can multiply through a project.
How often should carpenter’s tools be inspected?
Tools should be checked before use and more carefully before demanding tasks. Inspect blades, guards, cords, batteries, hoses, handles, triggers, measuring edges, and PPE. Damaged tools should be repaired or removed from service rather than used until failure.


