
How to choose carving tools for woodworking and power carving
Start with the work, not the tool set
Choose carving tools by the material, scale, cut style, and level of control the project requires. A spoon blank, a relief panel, a small figure, and a power-carved bowl all put different demands on the cutting edge. For most woodworkers, the practical starting point is not a large boxed set. It is a small group of sharp, controllable tools: a carving knife, one or two gouges, a V-tool, a suitable mallet for larger work, and sharpening gear that can maintain those edges.
Power carving adds speed, but it also brings dust, noise, torque, and a greater need for guarding and personal protection. A useful kit balances hand control with efficient material removal. The same buying logic applies across the Tools & Power category: match the tool to the task first, then judge quality by edge holding, handle fit, control, and maintenance requirements.
What counts as a carving tool?
In woodworking, carving tools are cutting tools used to shape wood by controlled removal, rather than by straight sawing or planing alone. Common hand tools include knives, chisels, gouges, V-tools, veiners, spoon knives, bent gouges, fishtail gouges, and mallets. Power carving tools include rotary tools, flexible-shaft machines, reciprocating power carvers, die grinders, angle grinders fitted with wood-rated carving accessories, and sanding or texturing attachments.
The main difference is not simply manual versus powered. It is how the edge or cutter meets the wood. A carving knife is best for slicing facets and small details. A gouge removes concave or convex channels and can rough out waste quickly. A V-tool cuts outlines, furrows, hair lines, lettering, and separation details. A rotary burr grinds rather than slices, so it can remove material fast but often leaves a surface that needs further refining.
Standards and trade references treat woodworking chisels and gouges as a defined tool family. ISO 2729:1995, which covers characteristics of woodworking chisels and gouges and was confirmed in 2023, is one example of how these tools are classified beyond casual workshop language. For buyers, the practical point is straightforward: blade geometry, width, handle pattern, steel treatment, and the intended striking method all matter.
Hand carving tools and what each one does
Carving knives
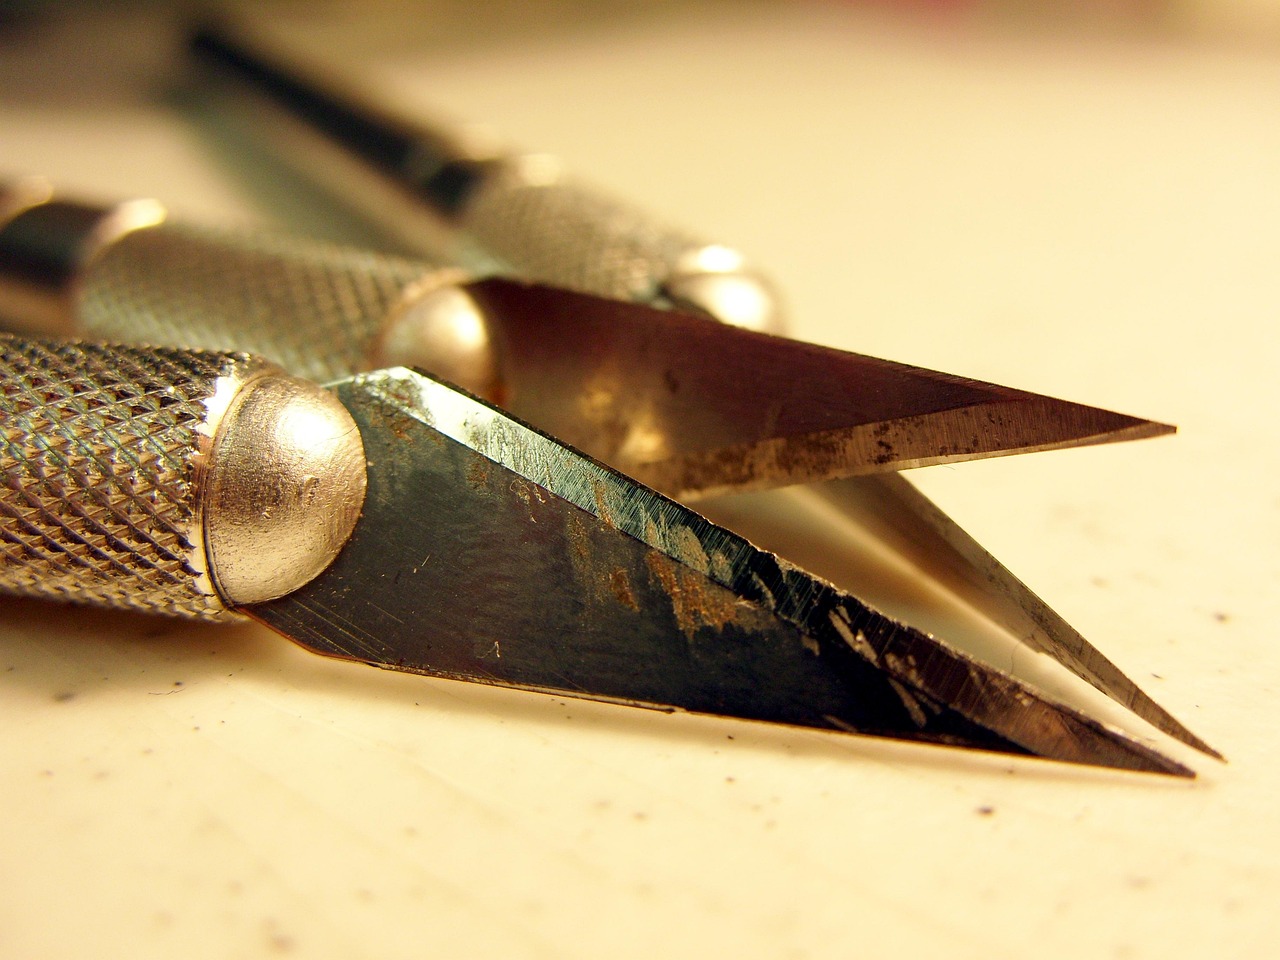
A carving knife is often the first tool for whittling, small figures, chip carving, and controlled slicing. Shorter blades are easier to steer through tight curves, while longer blades can make cleaner sweeping cuts on larger forms. A detail knife should not be expected to remove large blocks of waste, and a heavy roughing knife will feel clumsy in eyes, feathers, lettering, and small undercuts.
Gouges
A gouge is a chisel with a curved cutting profile. The curve is commonly described by a sweep number, while the tool width is usually listed separately. In many carving traditions, a low sweep number indicates a flatter curve and a higher number indicates a deeper curve. A No. 3 or No. 5 style gouge is useful for shallow shaping, while deeper gouges are better for hollows, folds, and faster waste removal. Numbering can vary by manufacturer, so compare the actual profile instead of relying on the stamp alone.
Chisels and skew chisels
A flat carving chisel is useful for leveling, paring, defining straight walls, and cutting clean shoulders. Skew chisels can reach into corners and work along angled lines, but they require more control because the leading corner can dig in. In carving, a chisel is not just a cabinetmaking bench chisel with a smaller handle. The shaft, edge angle, balance, and handle shape are usually optimized for controlled hand pressure or light mallet work.
V-tools and veiners
A V-tool is used to incise lines, separate forms, outline relief elements, and create decorative grooves. It is especially useful for lettering and textured surfaces. Veiners and very deep narrow gouges do related work when the desired line is round-bottomed rather than V-shaped. These are detail tools, not substitutes for broad roughing gouges.
How to read sweep, width, handle, and steel
Carving tool descriptions can be confusing because one tool may be identified by several attributes at once. A label may include sweep, cutting width, shaft pattern, handle style, and manufacturer series. The first buying filter should be profile and width: the edge must fit the cut you want to make. A wide shallow gouge can smooth a broad curve, but it will not fit a tight eye socket or leaf vein. A narrow deep gouge reaches small hollows, but it can leave tracks on broad surfaces.
Handle style is the second filter. Palm tools are compact and useful when the workpiece is held close, especially for small figures, relief details, and light cuts. Full-size tools give more reach and leverage, and many are suitable for mallet-assisted carving. If a tool will be struck, its handle and tang construction must be intended for that use. Striking a delicate palm tool or a fishtail gouge too heavily can damage the tool and reduce control.
Steel quality matters because carving depends on a keen edge. Many quality carving tools use high-carbon steel or alloyed tool steel. Hardness is often discussed using the Rockwell C scale, and ASTM E18-25 describes standard Rockwell hardness test methods for metallic materials. However, a hardness number alone is not enough for a buying decision. Heat treatment, edge geometry, toughness, sharpening response, and corrosion care all affect performance. A very hard edge that chips easily is not automatically better than a slightly tougher edge that sharpens predictably.
For general buying, do not treat a huge low-cost set as better value simply because it has more pieces. Beginners often use only a few profiles while learning grain direction, sharpening, and cutting pressure. A smaller group of well-made tools usually teaches better habits than a crowded roll of inconsistent edges.
Hand tools versus power carving tools
Hand carving and power carving solve different problems. Hand tools provide feedback through the edge, the grain, and the hand holding the work. They are quiet, precise, and capable of leaving finished surfaces directly from the cut. Power carving removes stock faster and opens up shapes that would be slow by hand, especially bowls, sculptural forms, textures, and hard-to-reach hollows.
A rotary tool or flexible-shaft carver is useful for small burrs, abrasive points, sanding drums, and texture work. A reciprocating power carver uses a powered stroke to drive small chisels or gouges and can reduce fatigue on repeated cuts. A die grinder or angle grinder can remove material aggressively, but it should be reserved for users who understand accessory ratings, side load, kickback potential, dust control, and two-hand control.
Power carving accessories must be compatible with the machine speed and the material. A cutter designed for one grinder speed or collet size should not be improvised onto another machine. The accessory should be rated for the tool, seated correctly, and inspected before use. If the cutter has teeth, chains, carbide burrs, abrasive surfaces, or replaceable inserts, follow the manufacturer’s instructions for rotation direction, maximum speed, guarding, and workholding. See also: Bolts & Fasteners.
| Project type | Useful first tools | What to watch |
|---|---|---|
| Whittled figures | Roughing knife, detail knife, small V-tool | Blade control, glove choice, stop cuts, grain direction |
| Relief carving | Shallow gouge, medium gouge, V-tool, flat chisel | Background leveling, consistent depth, clean outlines |
| Spoons and bowls | Sloyd-style knife, hook knife or spoon gouge, bent gouge | Safe workholding, hollowing direction, handle clearance |
| Large sculpture | Full-size gouges, mallet, power carver or grinder accessories | Dust, noise, kickback, fatigue, tool rating |
| Lettering and signs | V-tool, skew chisel, shallow gouge | Grain reversal, layout accuracy, sharp inside corners |
Sharpening is part of the tool purchase
A carving tool is only as useful as the edge you can maintain. New tools may arrive sharp, nearly sharp, or needing setup. Used tools can be excellent, but rust, pitting near the cutting edge, rounded bevels, cracked handles, and overheated tips can turn a bargain into a repair project.
For knives and flat chisels, a basic system may include stones or diamond plates plus a strop and compound. Gouges and V-tools need shaped slips, small stones, abrasive cords, or leather profiles that match the inside curves. The goal is not to remove metal every time. Frequent stropping keeps the edge keen and delays heavier sharpening.
Edge geometry should support the work. A thin edge slices cleanly in soft, straight-grained woods but may be fragile in knots or dense hardwood. A stronger bevel tolerates heavier cuts but may require more force. If a tool suddenly needs pressure, leaves a fuzzy surface, follows the grain unpredictably, or bruises instead of cuts, check sharpening before blaming the wood.
Safety, dust, and workholding should guide tool choice
Carving injuries often come from predictable causes: a dull edge that requires too much force, a hand placed in the cut path, an unsecured workpiece, a powered cutter used without proper control, or dust exposure treated as an afterthought. OSHA guidance for hand and power tools emphasizes that tools can cause severe injury when they are used or maintained improperly, and OSHA construction rules require hand and power tools to be maintained in safe condition.
For hand carving, control the cut before increasing force. Keep the holding hand out of the projected path, use stop cuts near delicate edges, and clamp or fixture work that is too large or unstable to hold. Cut-resistant gloves can help in many knife operations, but glove use around rotating power tools needs careful judgment because loose material can snag. When using powered equipment, keep guards in place where the tool is designed for them, maintain two-hand control when required, and disconnect power before changing cutters.
Wood dust is a real health and housekeeping issue, especially with sanding, burrs, grinders, and other high-speed tools. NIOSH identifies wood dust exposure routes as inhalation plus skin and eye contact, and lists respiratory, skin, and eye effects. HSE guidance also notes that cutting and sanding wood with power tools can generate significant dust and recommends controlling exposure at the source where possible. In a practical shop, that means using extraction, ventilation, appropriate respiratory protection when needed, eye protection, and cleanup methods that do not simply blow fine dust back into the air.
- Inspect handles, ferrules, tangs, cords, collets, guards, and cutter condition before work.
- Use sharp edges and controlled cuts instead of forcing dull tools.
- Match powered accessories to the tool speed, shank size, and intended material.
- Clamp or fixture workpieces when two-hand control is safer than handholding.
- Use eye protection for chips and dust, and control airborne dust during power carving and sanding.
- Store edges in a roll, rack, or sheath so tools do not strike each other.
A practical starter approach
A realistic starter kit depends on the project, but most beginners can make progress with fewer tools than expected. For small wood figures, start with a roughing knife, a detail knife, a small V-tool, and a medium gouge. For relief work, add a shallow gouge, a deeper gouge, a flat chisel, and a mallet if the panel is large enough. For spoons, prioritize a safe straight knife and a hook knife or spoon gouge. For power carving, begin with a controllable rotary or flexible-shaft system and a limited number of compatible burrs before moving to aggressive grinder accessories.
Buy the first tools to solve known cuts, not imaginary future projects. After several sessions, the missing profile usually becomes obvious: a deeper hollow, a wider smoothing gouge, a smaller V-tool, or a bent tool for reach. This staged approach reduces clutter, improves skill, and makes every added tool easier to justify.
Frequently asked questions
Are carving tools the same as regular chisels?
Not exactly. Some flat carving chisels look similar to bench chisels, but carving tools include gouges, V-tools, bent profiles, palm tools, and mallet tools shaped for controlled cutting in many directions. Bench chisels are mainly optimized for joinery, paring, and straight chopping tasks.
What carving tools should a beginner buy first?
For general wood carving, start with a sharp carving knife, one medium gouge, one shallow gouge or flat chisel, a small V-tool, and sharpening supplies. If the first project is a spoon, replace some of those with a hook knife or spoon gouge. If the first project is relief carving, prioritize gouges and a V-tool.
Are power carving tools better than hand carving tools?
They are faster for roughing, hollowing, and texture, but they are not automatically better. Hand tools usually give more feedback and can leave a cleaner finished surface. Many carvers use both: power tools for bulk removal and hand tools for edges, detail, and final refinement.
Why do gouge numbers vary between brands?
Gouge numbers are based on sweep systems that describe curvature, but manufacturers may interpret profiles differently. The width and the actual curve are more important than the number alone. When possible, compare profile charts or the physical cutting edge before buying.
How should carving tools be stored?
Store them so edges do not touch each other. A tool roll, edge guard, drawer insert, wall rack, or divided box can prevent nicks and protect hands. Clean and dry the steel after use, especially when carving green wood or working in a humid shop.


